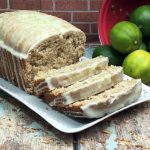
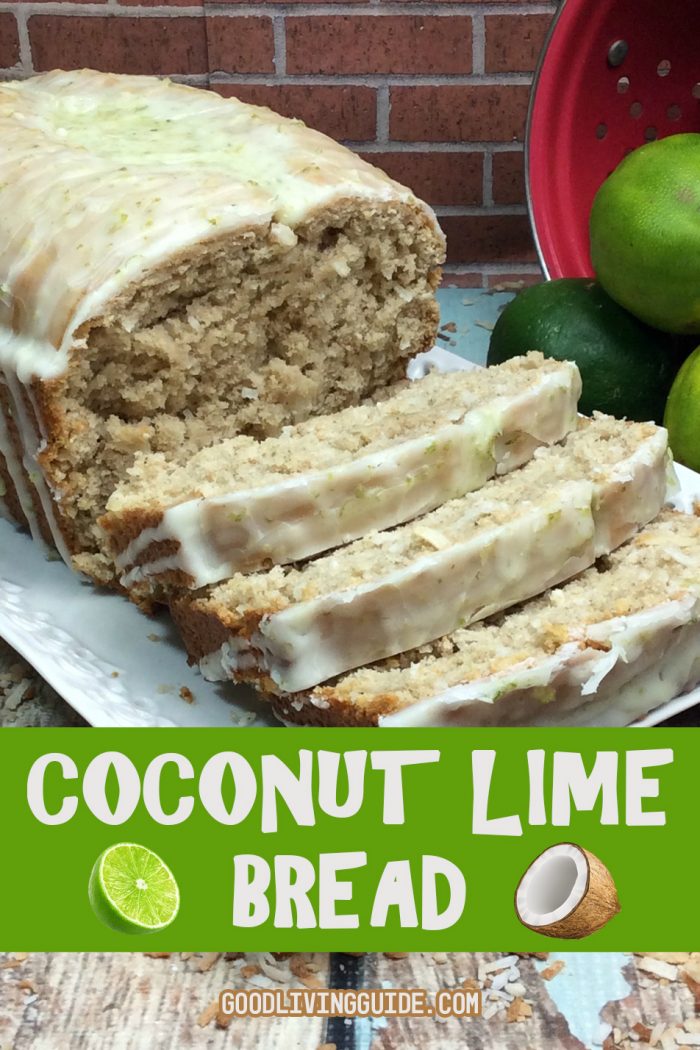
One bite of this Coconut Lime Bread and you’ll be whisked away to a tropical paradise! Moist, soft, and slightly sweet, it’s perfect with coffee or a cup of tea!
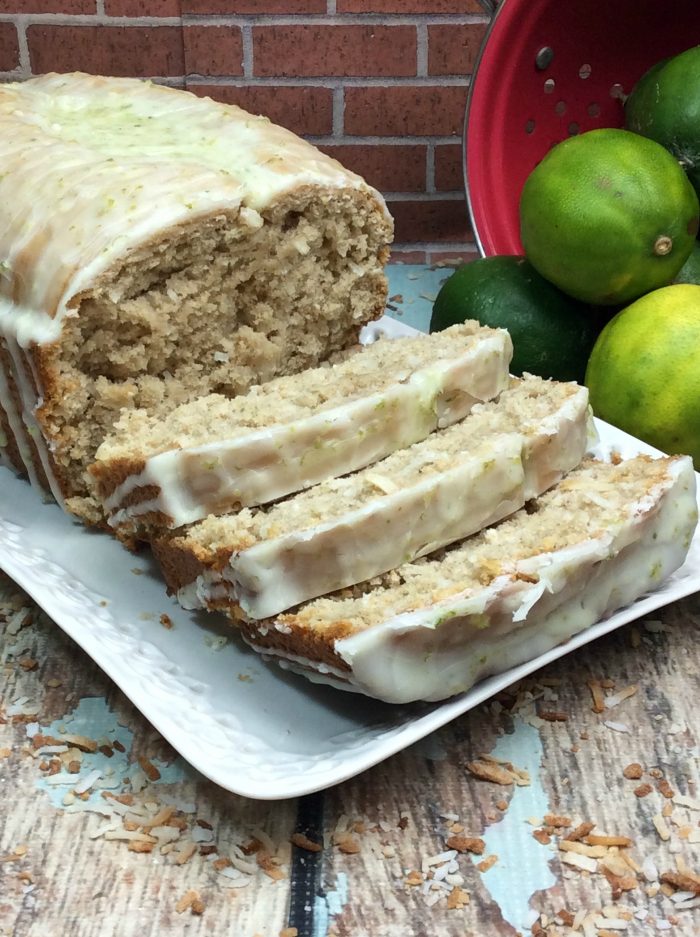
This cake-like bread is bursting with coconut goodness and flavors from the tropics. The delicious lime glaze is perfectly balanced between sweet and tart. It’s a great choice for breakfast, brunch or a snack. In fact, it’s a great choice any time of day!
Coconut Lime Bread
Ingredients
- 2 eggs room temperature
- 1 1/4 cups whole milk
- 2 tsp vanilla extract
- zest from 3 limes
- 2 1/2 cups flour all-purpose
- 1 1/2 cups flaked coconut sweetened
- 1 cup sugar granulated
- 2 tsp baking powder
- 1 tsp cinnamon ground
- 1/4 tsp salt
- 6 tbsp butter unsalted, room temperature
Lime Glaze
- 1 cup sugar confectioners
- 2-3 tbps lime juice fresh
- zest from 1/3 lime
Instructions
-
Preheat oven to 350 degrees.
-
Spray 9x5 loaf pan with a non-stick cooking spray.
-
In a medium bowl, add the eggs, milk, vanilla extract and lime zest. Mix to combine.
-
Set aside.
-
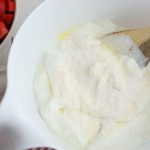
Using a stand-up mixer on low speed, combine the flour, coconut, sugar, baking powder, salt and cinnamon.
-
Continuing on low speed, pour in the egg mixture and mix until just combined.
-
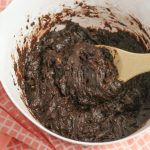
Now add the butter and mix until combined.
-
Pour the batter into your loaf pan.
-
Bake for 60-75 minutes, or until a toothpick inserted into the center comes out clean.
-
Once the bread is cooled, make the lime glaze.
Lime Glaze
-
In a small bowl, whisk together the confectioners sugar and the lime juice.
-
Drizzle the glaze over the bread.
-
Sprinkle with the lime zest.
Here are some other recipes we hope you may enjoy:
Copycat Starbucks Banana Walnut Bread
Instant Pot Carne Asada Street Tacos