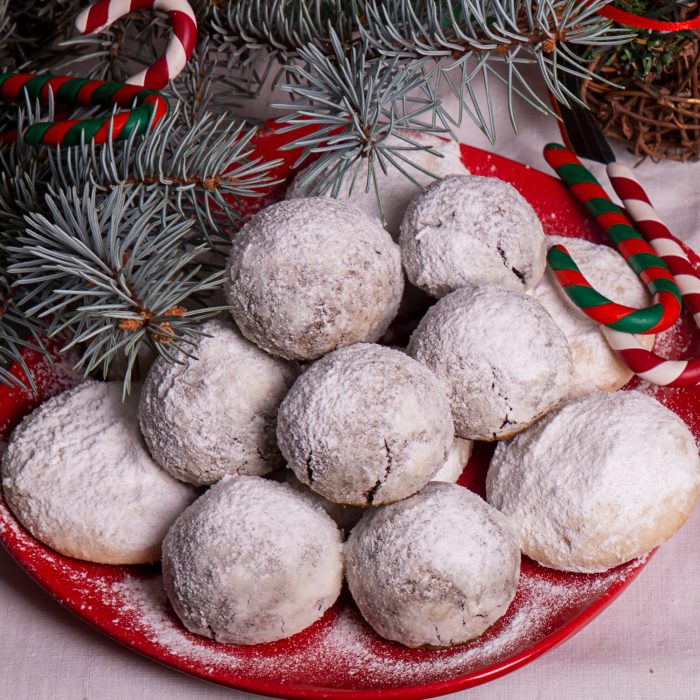
Make your holiday fun with easy-to-make Christmas Wreath Cookies. These sweet, crunchy cookies look like Christmas on a plate. They take only a few minutes to make and don’t even need baking.
Master Your Holiday Baking
If you’ve ever tried to make fancy holiday treats but couldn’t seem to figure out the complicated instructions, this recipe is for you. These cookies are easy enough for kids to make, and you and your kids will have fun making these together. You could even let your kids have a cookie-making party to ring in the season.
Make the Holidays Bright With Christmas Wreath Cookies
You’ll enjoy serving these at any holiday party. Use them as edible decorations on your Christmas tree or holiday buffet. They’re also great for your holiday cookie exchange or to give as edible gifts.
Tips for Making Christmas Wreath Cookies
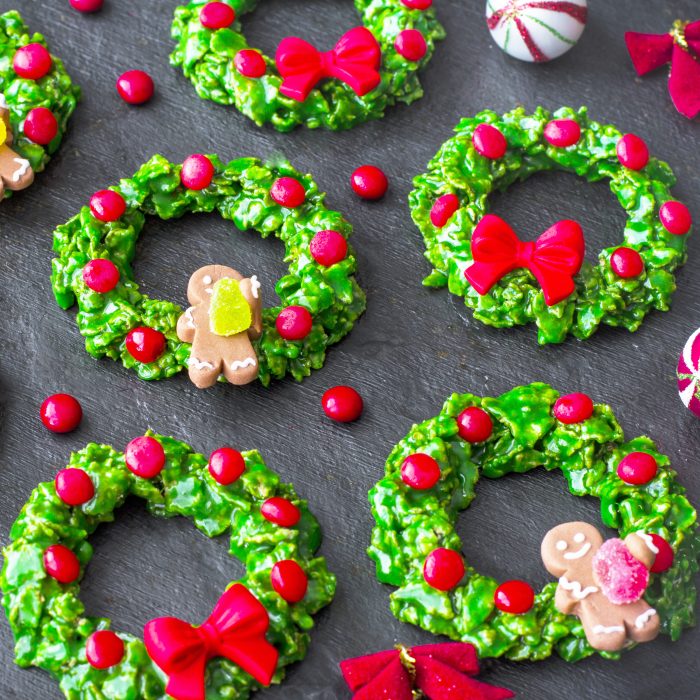
- Use edible bows, miniature snowmen, tiny gingerbread men, gumdrops and other edible decorations to dress these up.
- Once you pour the melted marshmallow over the cornflakes, work quickly to make the wreaths. The mixture will be hard to shape if it gets too hard.
- Make a pretty display by putting these cookies on a platter with other Christmas cookies shaped like trees, gingerbread men or snowflakes.
What to Serve With Christmas Wreath Cookies
These cookies say it’s time for a Christmas party. Stay in that spirit with a festive, colorful Christmas Punch decorated with cranberries. You can make a spiked version and a nonalcoholic version of this bright, tasty punch.
More Holiday Recipes You’ll Love
- White Christmas Mojito – a drink that looks as gorgeous as it tastes
- Apple Cider Shortbread Cookies – these cookies melt in your mouth and are not overly sweet
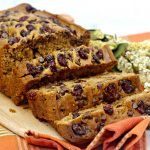
- Pumpkin Chocolate Chip Cranberry Bread – perfect with your morning coffee or as an afternoon snack
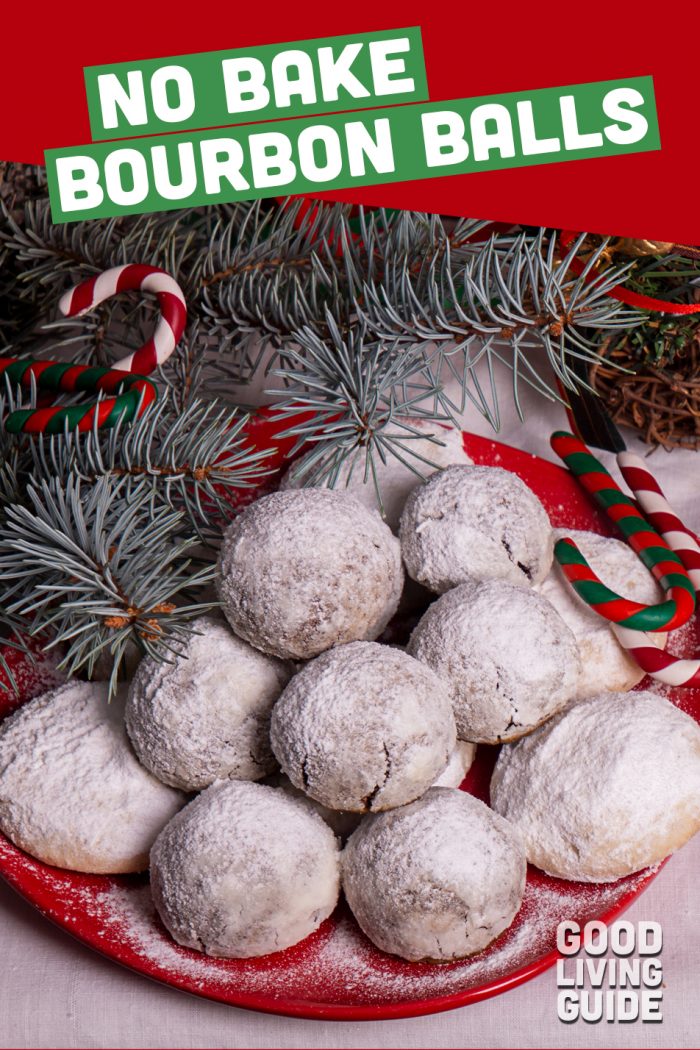
- No Bake Bourbon Balls – decadent bites of creamy chocolate
- The Very Best Christmas Dessert Recipes – an amazing variety of sweet and decadent Christmas treats

Christmas Wreath Cookies
Make your holiday fun with easy-to-make Christmas Wreath Cookies. These sweet, crunchy cookies only a few minutes to make and don't even need baking.
Ingredients
- 4 cups miniature marshmallows (40 large)
- 1 stick butter
- 1 tsp vanilla
- 1 tsp green food coloring
- 4 cups Corn Flakes
- Red Hots
Instructions
-
Melt marshmallows and butter.
-
Take off heat. Add the vanilla and green food coloring.
-
Pour mixture over Corn Flakes.
-
Put 5 or 6 spoonfuls on waxed paper and shape into wreaths. Keep the rest of the mixture warm while shaping.
-
Add a few Red Hots.
-
Use edible bows, miniature snowmen, tiny gingerbread men, gumdrops or other edible decorations to dress the wreaths up. (optional)