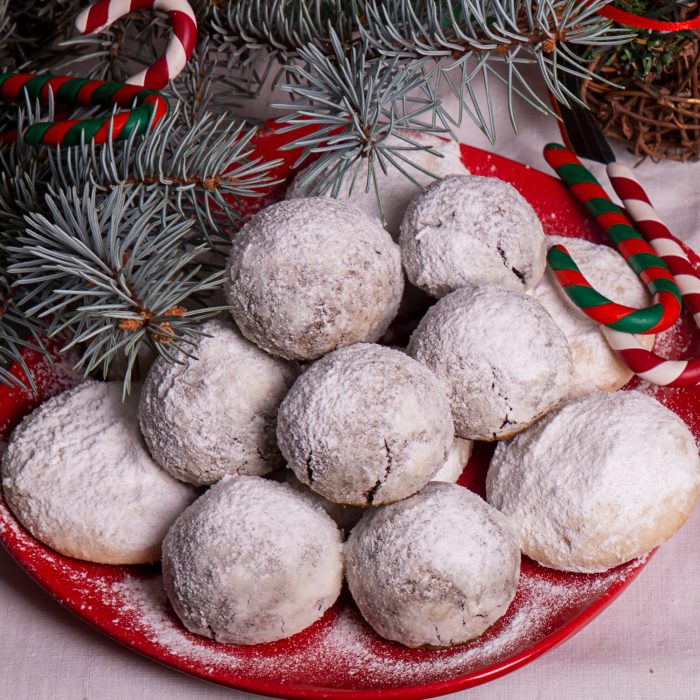
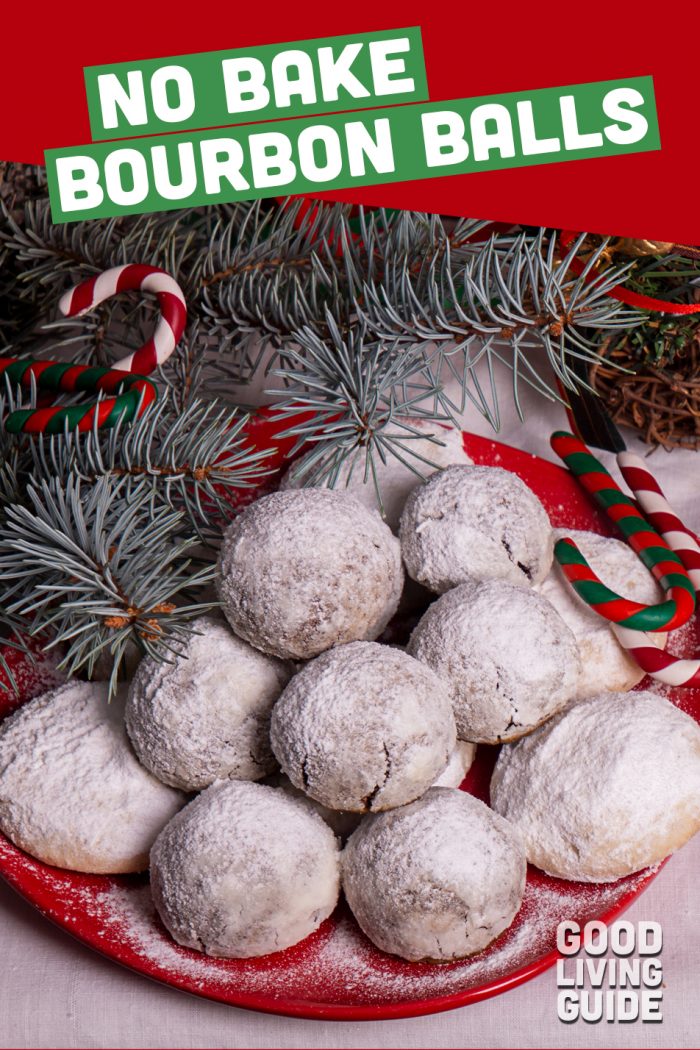
Make it a very merry party season with classic No Bake Bourbon Balls. These decadent bites of creamy chocolate are whiskey-laced truffles that will make your guests swoon. Best of all, they require no baking and are ready in minutes.
Get Into the Holiday Spirit
Bourbon balls are a traditional Southern treat, and this version is the classic recipe. The original recipe comes from Kentucky, which is not surprising since Kentucky is known for its many fine bourbons.
Bring these out at the end of dinner for a dessert that’s also an after-dinner drink. They’re small enough to be enjoyable even after a big meal. No Bake Bourbon Balls are perfect on holiday buffets and dessert tables.
Tips for Making No Bake Bourbon Balls
- Children will find the gooey chocolate balls irresistible. Keep these boozy treats out of their reach.
- Bourbon is not the same as other types of whiskey like rye, Irish whiskey or Scotch. Be sure to use Kentucky-style bourbon for the full, smooth flavor that gives these desserts their distinctive taste. Jack Daniels and Wild Turkey are two popular brands of bourbon.
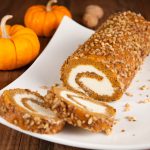
- You can change up the flavor and texture of bourbon balls by dusting them with granulated sugar or a mix of cinnamon and sugar. You can also swap out the ground walnuts for ground pecans or ground hazelnuts.
What to Serve With No Bake Bourbon Balls
Enhance the slight vanilla tones of bourbon by pairing these with coffee and homemade vanilla creamer. They’ll also go well with a spicy, creamy Chai Tea Latte.
More Christmas Ideas & Recipes You’ll Love
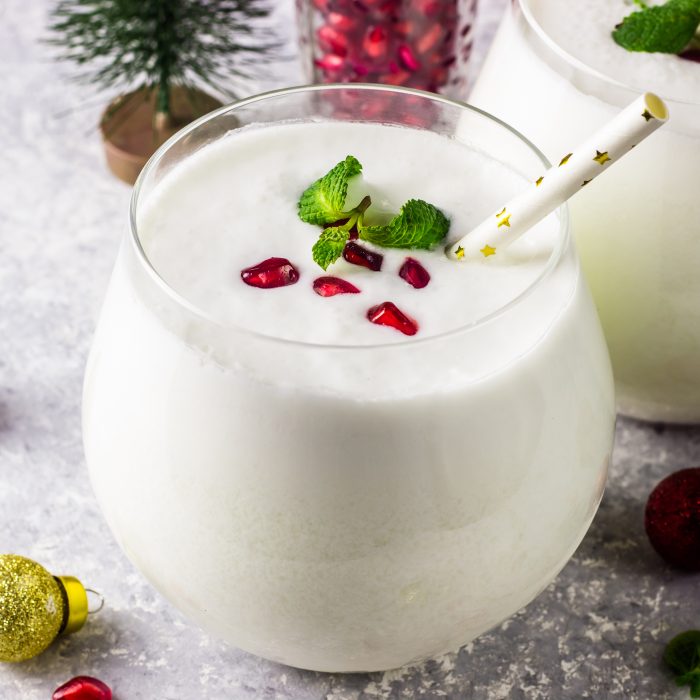
- White Christmas Mojito
- Make your front door merry and bright with this Christmas Poinsettia Wreath
- How To Make Your Own Christmas Village Display Tree
- Celebrate Christmas with a Crochet Nativity Scene in Amigurumi Style
- White Chocolate Peppermint Kiss Cookies
- The Very Best Christmas Dessert Recipes

No Bake Bourbon Balls
No Bake Bourbon Balls are perfect on holiday buffets and dessert tables. These decadent bites of creamy chocolate will make your guests swoon.
Ingredients
- 3 cups ground vanilla wafers
- 1 cup ground walnuts
- 1 cup powdered sugar
- 3 tsp light syrup
- 1 1/2 tsp cocoa
- 1/2 cup bourbon whiskey
Instructions
-
Mix ingredients.
-
Roll into balls.
-
Dust with powdered sugar.
Recipe Notes
Makes about 3 dozen. Keeps well in an air-tight container.


 Perfect for Parties